

Chapter I
The Design
what this deck wants
Written by the coach from this decklist
Card Draw
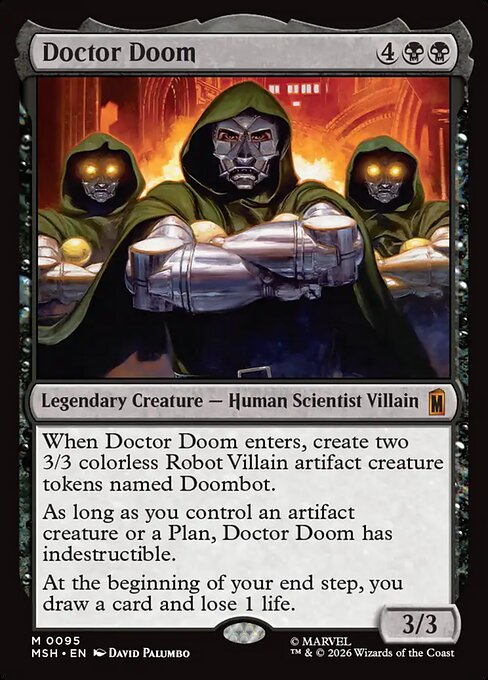
- Mono-black artifact aristocrats built around Doctor Doom's ETB — two 3/3 Doombots — and his innate indestructibility so long as you control an artifact creature or a Plan (Robot Domination). The deck grinds value through artifact sacrifice, death triggers, and reanimation, then closes with drain payoffs (Marionette Master, Disciple of the Vault) or one of several Nim Deathmantle + Ashnod's Altar loops. It's a combo-leaning midrange list: it can win fair with a wide, sacrificing board or hard-combo the table out of nowhere.
Chapter II
Vital Signs
power, speed, and what the deck is made of
Computed from deck data
Power · cEDH-adjacent
- Consistency
- 10.0
- Resilience
- 5.0
- Interaction
- 10.0
- Speed
- 8.1
Role coverage
Chapter III
The Arsenal
the cards that carry the deck
Computed from deck data
Chapter IV
Sequence
how the game unfolds
Written by the coach from this decklist

Ramp
- EARLY: land + a rock or dork (Sol Ring, Arcane Signet, Leaden Myr, Palladium Myr), then set up the artifact engine. Deploy a sac outlet (Ashnod's Altar, Krark-Clan Ironworks) and a draw engine (Skullclamp, Phyrexian Arena, Black Market Connections). MID: land Doctor Doom (turn 5–6) — his indestructibility is free since the two Doombots keep an artifact creature on board — and start turning his end-step draw into a persistent card advantage while building an aristocrats board with Pitiless Plunderer, Marionette Apprentice, and Disciple of the Vault. LATE: assemble a Nim Deathmantle loop or fire Torment of Hailfire / Exsanguinate for a big black-mana drain, backed by Cabal Coffers + Crypt Ghast.
- Ramp 12 (repeatable): fast rocks Sol Ring, Arcane Signet, Grim Monolith, Mind Stone, Jet Medallion, Thought Vessel, plus Myr dorks Leaden Myr and Palladium Myr, Solemn Simulacrum, and the mono-black land engine Cabal Coffers + Crypt Ghast + Coffers-doublers. Burst mana 5 (one-shot): Dark Ritual, Bubbling Muck, Deadly Dispute, Pitiless Plunderer Treasures, and Black Market Connections — these spike a single explosive turn, not every turn; the Coffers package is your real repeatable acceleration. Curve is low and dense (avg 2.92, twenty-two 2-drops), so you can chain rocks and engine pieces early and land Doom on curve.
Chapter V
The Opening
what to keep, what to ship
Written by the coach from this decklist
Ramp
- Keep 3–4 lands (37 lands + strong rock package makes 2-landers with a rock playable) plus at least one accelerant (Sol Ring, Arcane Signet, a Myr) and one engine or payoff (Skullclamp, Ashnod's Altar, Black Market Connections, or a tutor). Ideal is land + ramp + sac outlet or draw engine. Ship hands that are all high-drops with no acceleration, or all engine pieces with one land. A Demonic Tutor or Vampiric Tutor in hand upgrades any 2-land keep since it finds the missing piece.
Chapter VI
The Close
how it ends
Written by the coach from this decklist
Token Generation
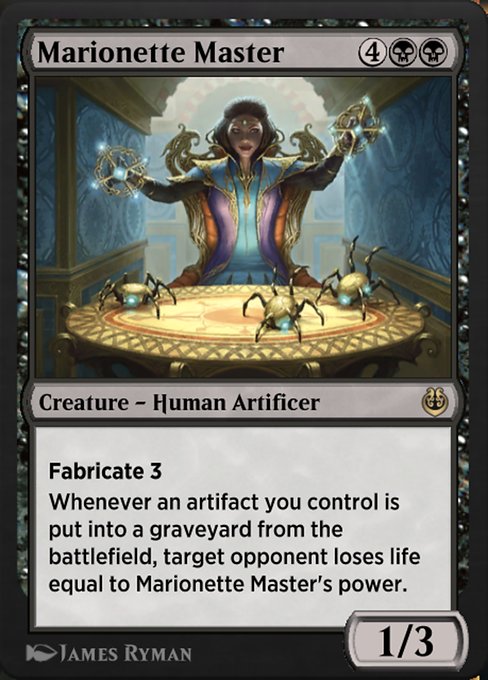
- Aristocrats drain: Marionette Master or Marionette Apprentice + Disciple of the Vault convert mass artifact/creature sacrifice into direct life loss across the table.
- Big black X-spell: Torment of Hailfire or Exsanguinate fueled by Cabal Coffers + Crypt Ghast drains everyone at once.
- Infinite combo kill: any Nim Deathmantle + Ashnod's Altar loop with a life-loss enabler (Marionette Master, Disciple of the Vault, or Doctor Doom end-step) drains the table.
- Combat: recurring 3/3 Doombots plus Ultron the Annihilator, Steel Overseer buffs, and an indestructible Doom grind through.
Chapter VII
Assemblies
pieces that lock together
Written by the coach from this decklist
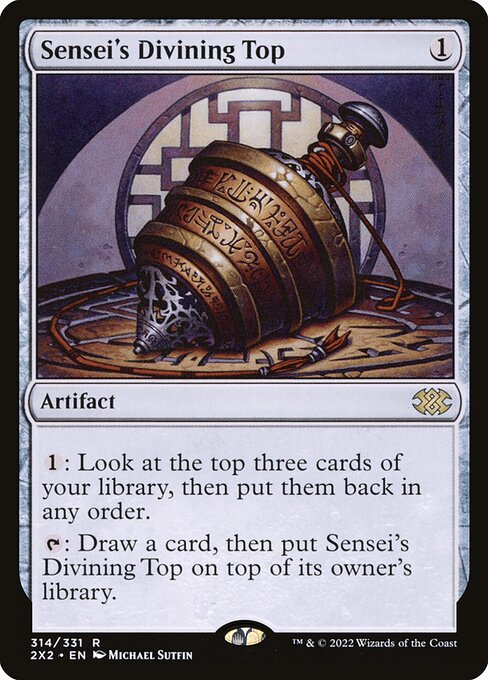
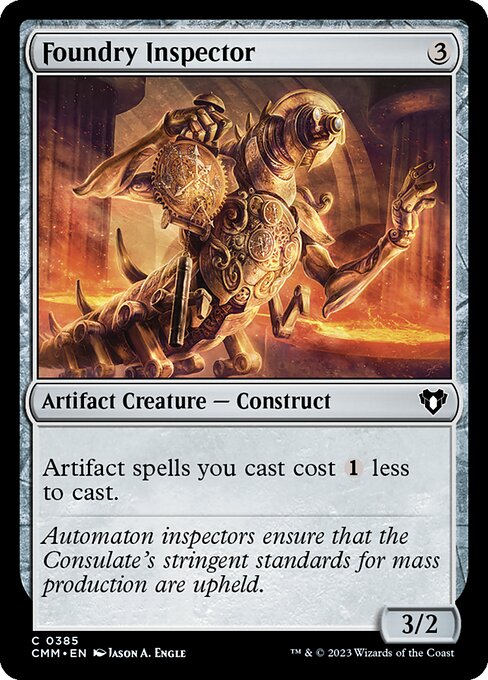
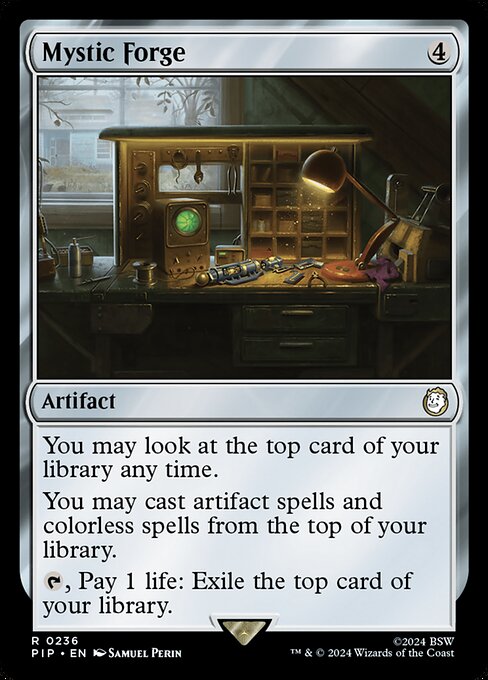
Sensei's Divining Top + Foundry Inspector + Mystic Forge → infinite card draw / storm count
- Have Foundry Inspector in play (makes Mystic Forge activations cheaper) and Mystic Forge out.
- Cast Sensei's Divining Top and play it, or activate its draw to draw itself back.
- Use Mystic Forge to cast Sensei's Divining Top from the top; with Foundry Inspector the Top costs {0}.
- Draw the Top, recast it off Forge for free, and repeat to draw your whole deck / build storm.
- Finish with Exsanguinate or Torment of Hailfire for the kill.
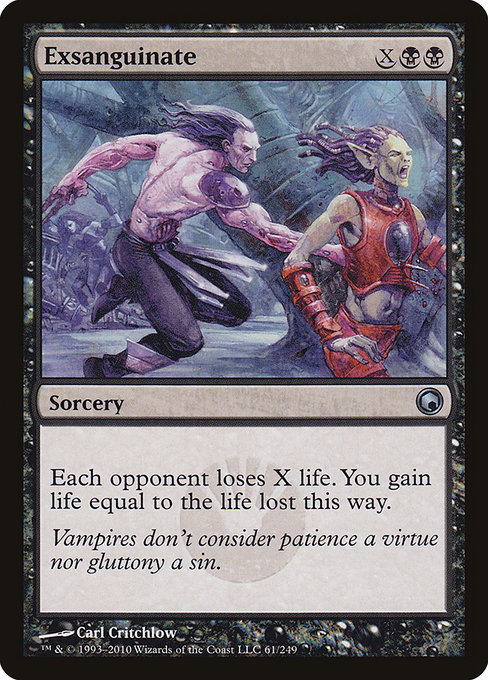

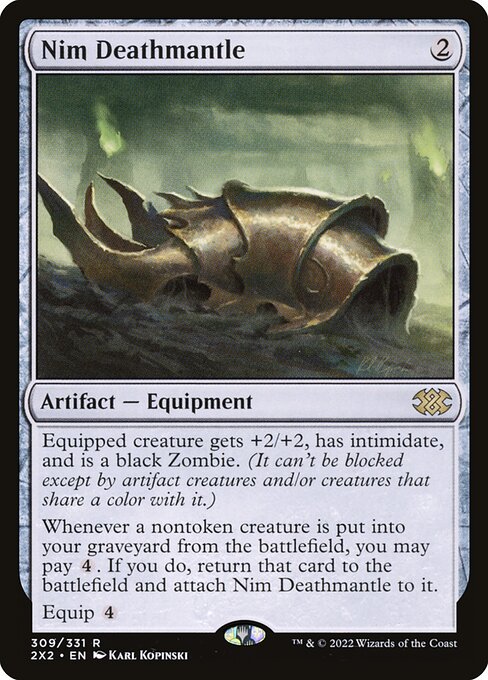
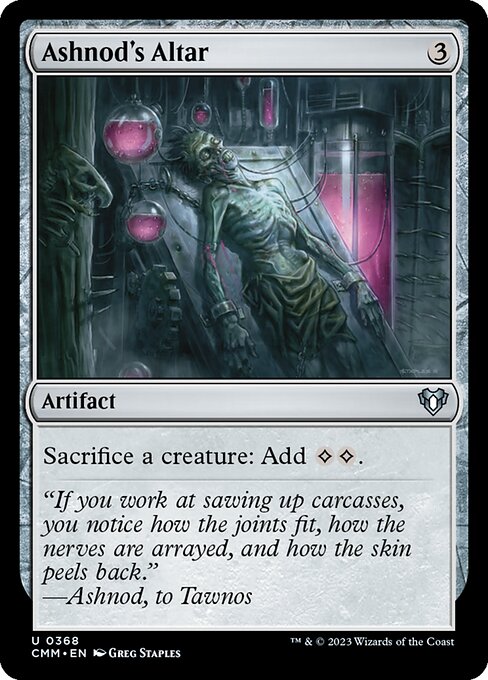
table kill
Nim Deathmantle + Ashnod's Altar + Marionette Master → infinite tokens, mana, and life loss (table kill)
- Have Nim Deathmantle, Ashnod's Altar, and Marionette Master in play.
- Sacrifice a creature to Ashnod's Altar for two colorless mana.
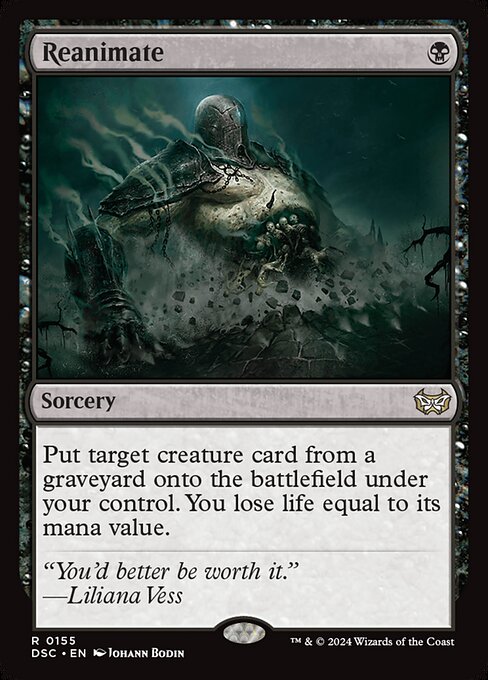
- Nim Deathmantle triggers on the death; pay {4} to Reanimate it under Deathmantle.
- Marionette Master sees the token/reanimation loop and drains each opponent per artifact death.
- Repeat — each cycle loses each opponent life until the table is dead.
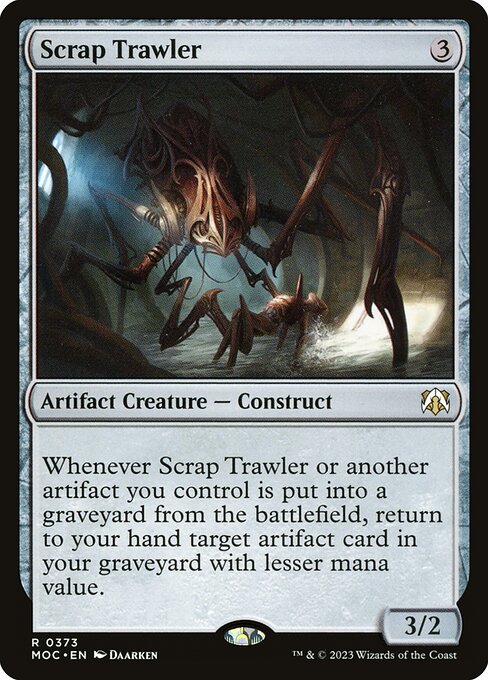
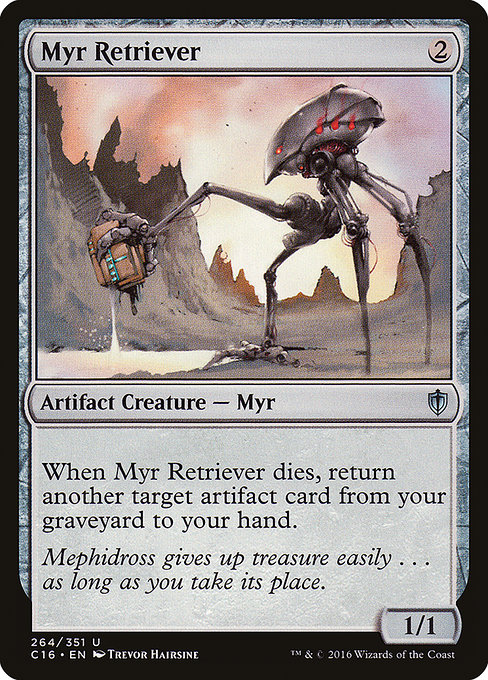
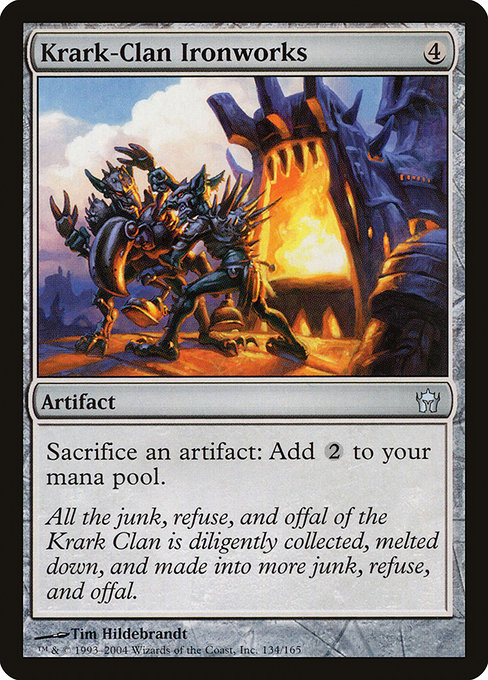
Scrap Trawler + Myr Retriever + Krark-Clan Ironworks + Foundry Inspector → infinite artifact ETB/LTB, colorless mana, death triggers
- Assemble Scrap Trawler, Myr Retriever, Krark-Clan Ironworks, and Foundry Inspector.
- Sacrifice Myr Retriever to Krark-Clan Ironworks for mana; Scrap Trawler returns a cheaper artifact.
- Recast the returned artifact (cost-reduced by Foundry Inspector), triggering ETB/LTB loops.
- Chain the Retriever/Trawler returns to generate infinite artifact deaths and colorless mana.
- Sink the loop into a drain payoff like Disciple of the Vault or Marionette Master.
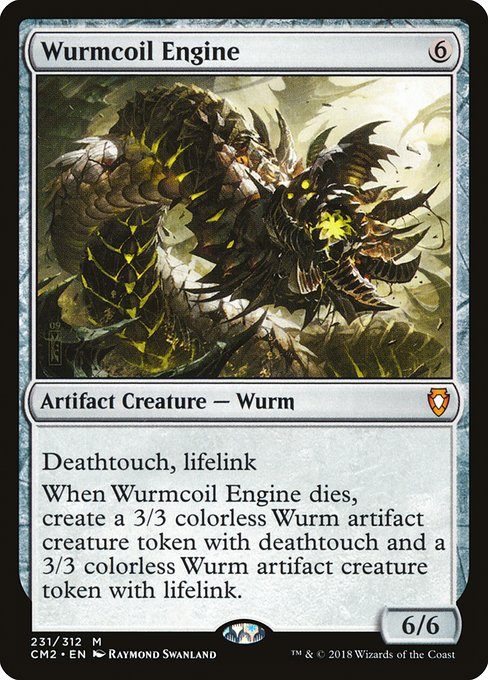
Wurmcoil Engine + Nim Deathmantle + Ashnod's Altar → infinite colorless mana, tokens, death triggers
- Have Wurmcoil Engine, Nim Deathmantle, and Ashnod's Altar in play.
- Sacrifice Wurmcoil Engine to Ashnod's Altar for two mana; it dies into two Wurm tokens.
- Nim Deathmantle reanimates Wurmcoil for {4}, net zero mana per cycle plus two tokens.
- Repeat for infinite death triggers, tokens, and mana.
- Convert with Disciple of the Vault or attack with the token army.
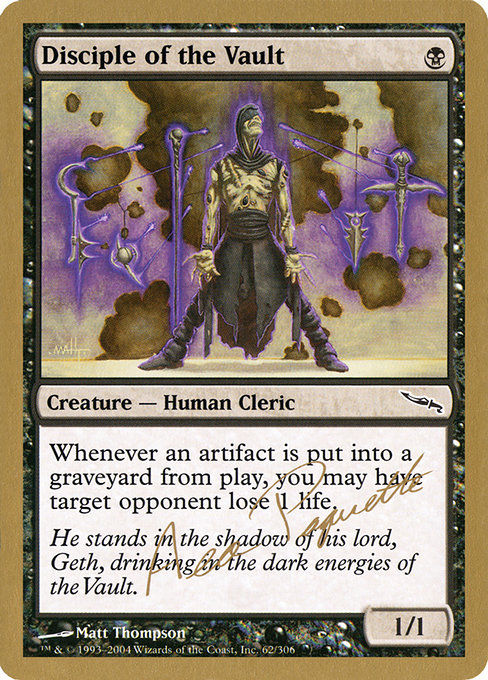
table kill
Nim Deathmantle + Ashnod's Altar + Disciple of the Vault → infinite life loss (table kill)
- Have Nim Deathmantle, Ashnod's Altar, and Disciple of the Vault in play with an artifact creature to loop.
- Sacrifice an artifact creature to Ashnod's Altar for two mana.
- Disciple of the Vault triggers on the artifact hitting the yard — each opponent loses 1.
- Pay {4} to Nim Deathmantle to return the creature; repeat.
- Each loop drains the table by one until everyone is dead.
Chapter VIII
Handling
counsel and common errors
Written by the coach from this decklist

Card Draw
- Doom's indestructibility only holds while you control an artifact creature or Robot Domination — don't sac your last Doombot into an empty board right before a wipe or you'll lose him.
- Sequence around board wipes: Doom, Doombots, and Wurmcoil Engine survive or replace themselves, so you can often cast Damnation or Toxic Deluge while keeping your key pieces.
- Skullclamp on a Doombot or any dying token is your best repeatable draw — prioritize finding it and looping it over holding creatures back.
- Watch what the Deathmantle loop actually produces: with Marionette Master or Disciple of the Vault it's a table kill; without a life-loss payoff it only generates mana and tokens, so line up the finisher first.
- Hold Deadly Rollick and Infernal Grasp for the opposing commander or a combo piece rather than spending them on chaff — your interaction count (5) is lean.
- Don't overextend into an open wipe; you can rebuild off recursion (Victimize, Reanimate, Myr Retriever, Scrap Trawler) faster than most, so playing to the wipe is fine.
- Use Sensei's Divining Top + Vampiric Tutor to smooth draws, but remember the Top is also a combo piece with Forge and Foundry Inspector — don't crack it away carelessly.